Learn how to add a comprehensive guide to your platform with this step-by-step walkthrough
1. Introduction
From your WordPress dashboard select Guides

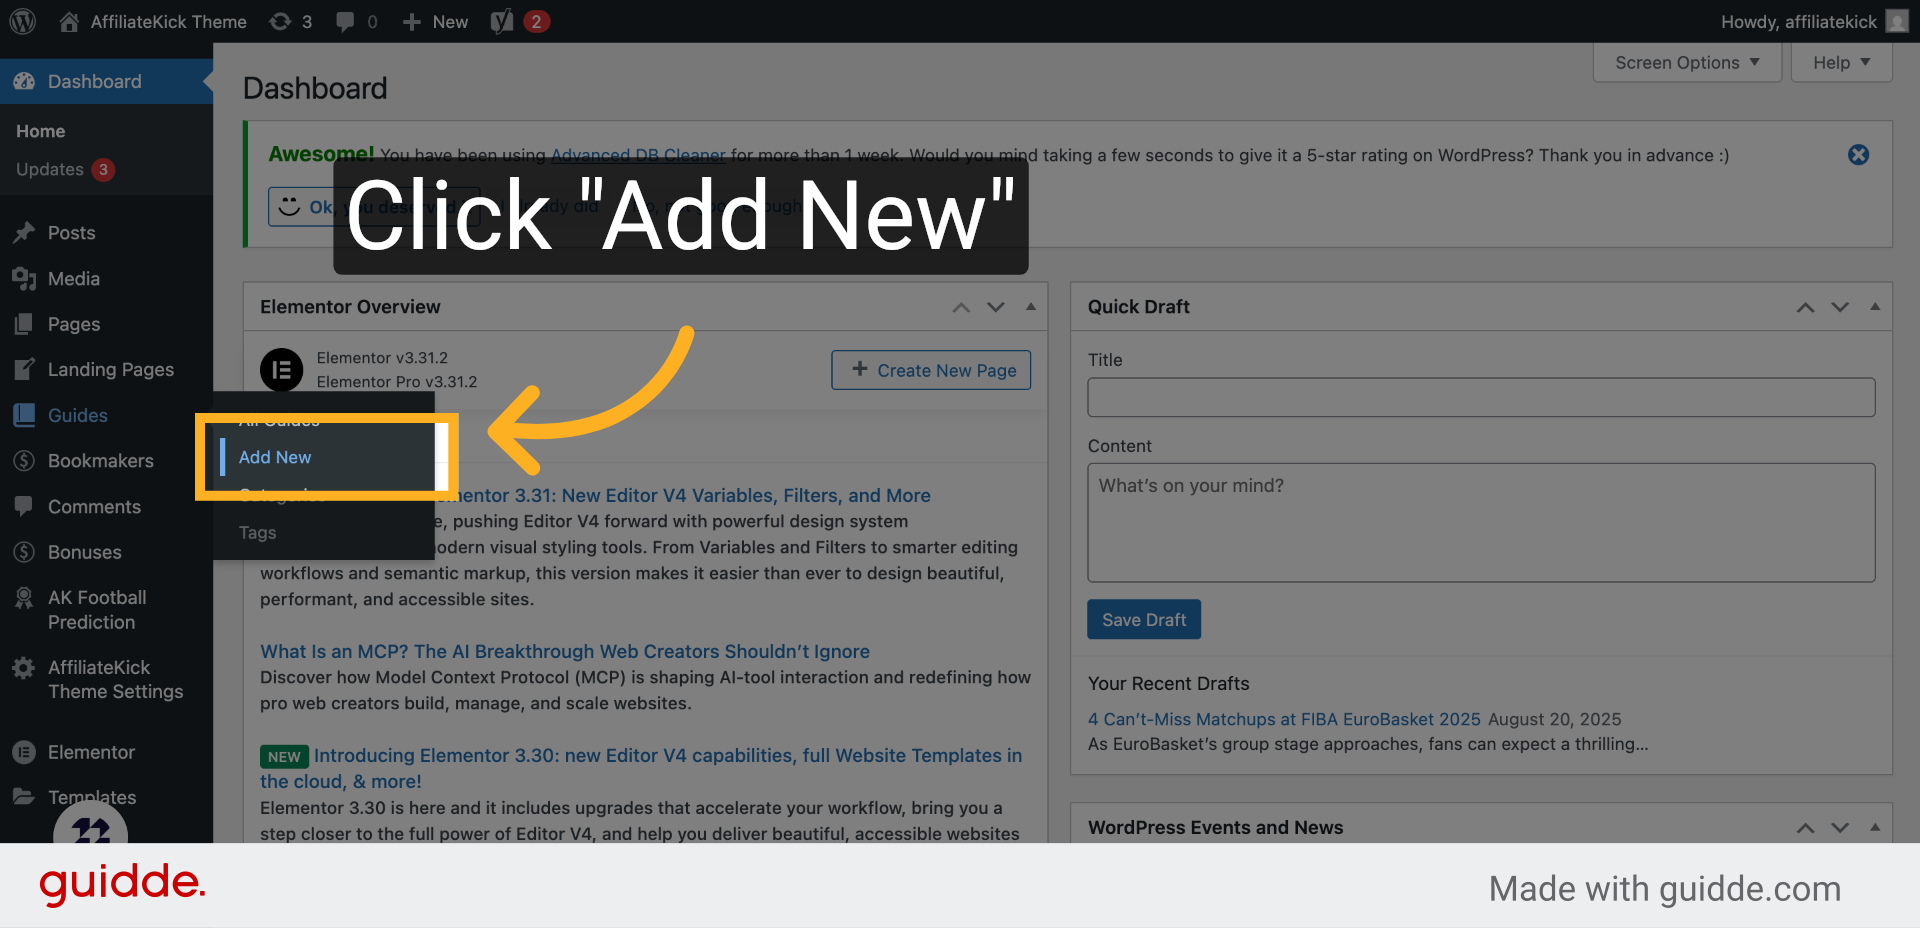
2. Click “Add New”
Begin by selecting the option to add a new guide to your platform.
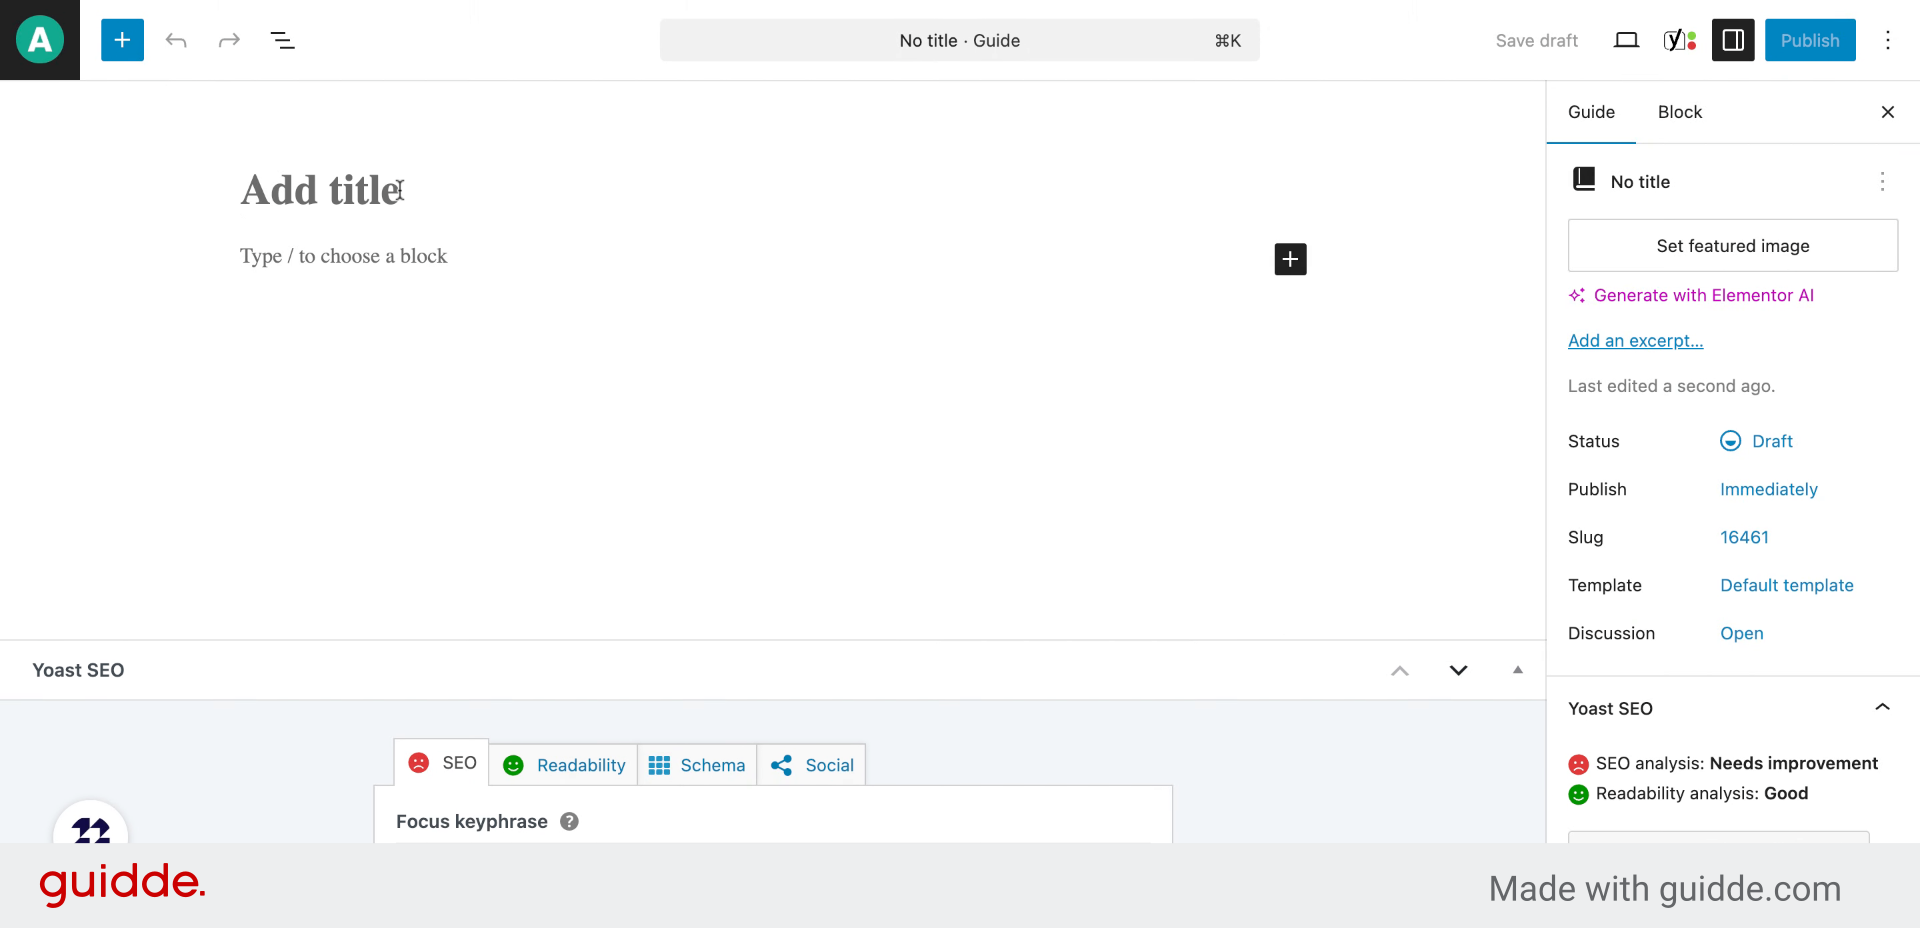
3. Add a title for your guide
Enter a clear and descriptive title that reflects the content of your guide, such as how to place a bet.
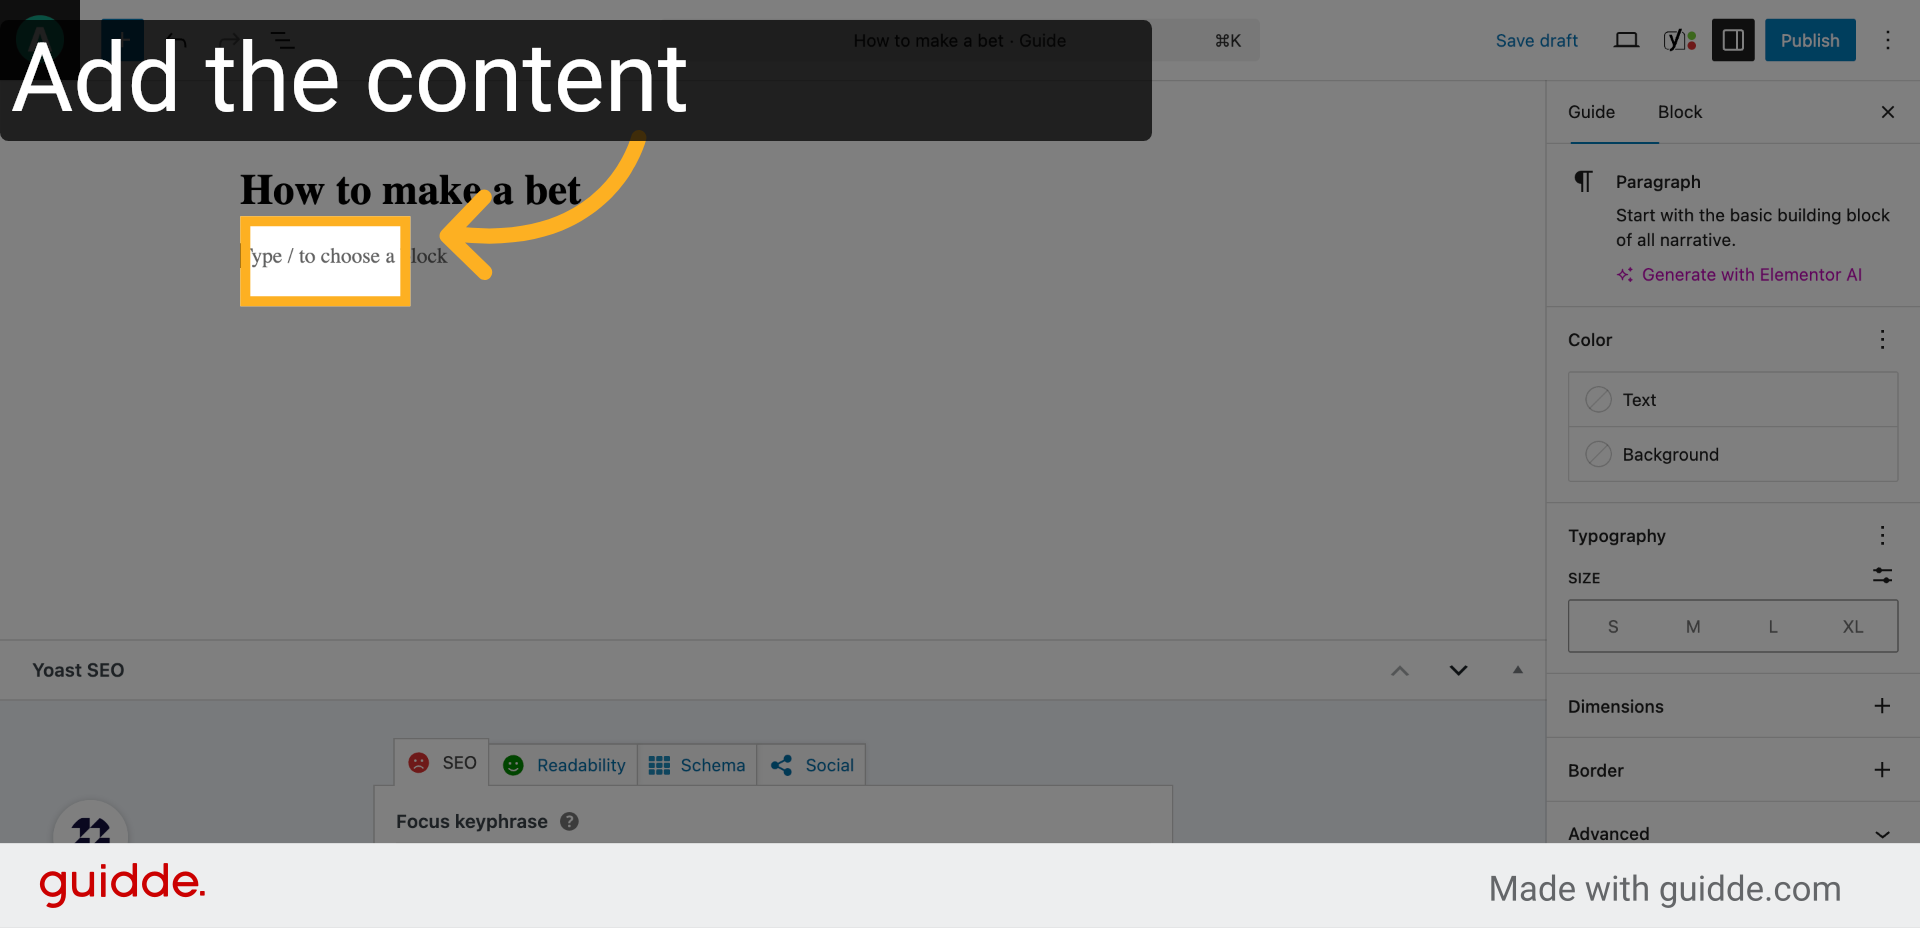
4. Click “Type / to choose a block”
Activate the block editor by typing the slash command to choose the type of content block you want to add next.
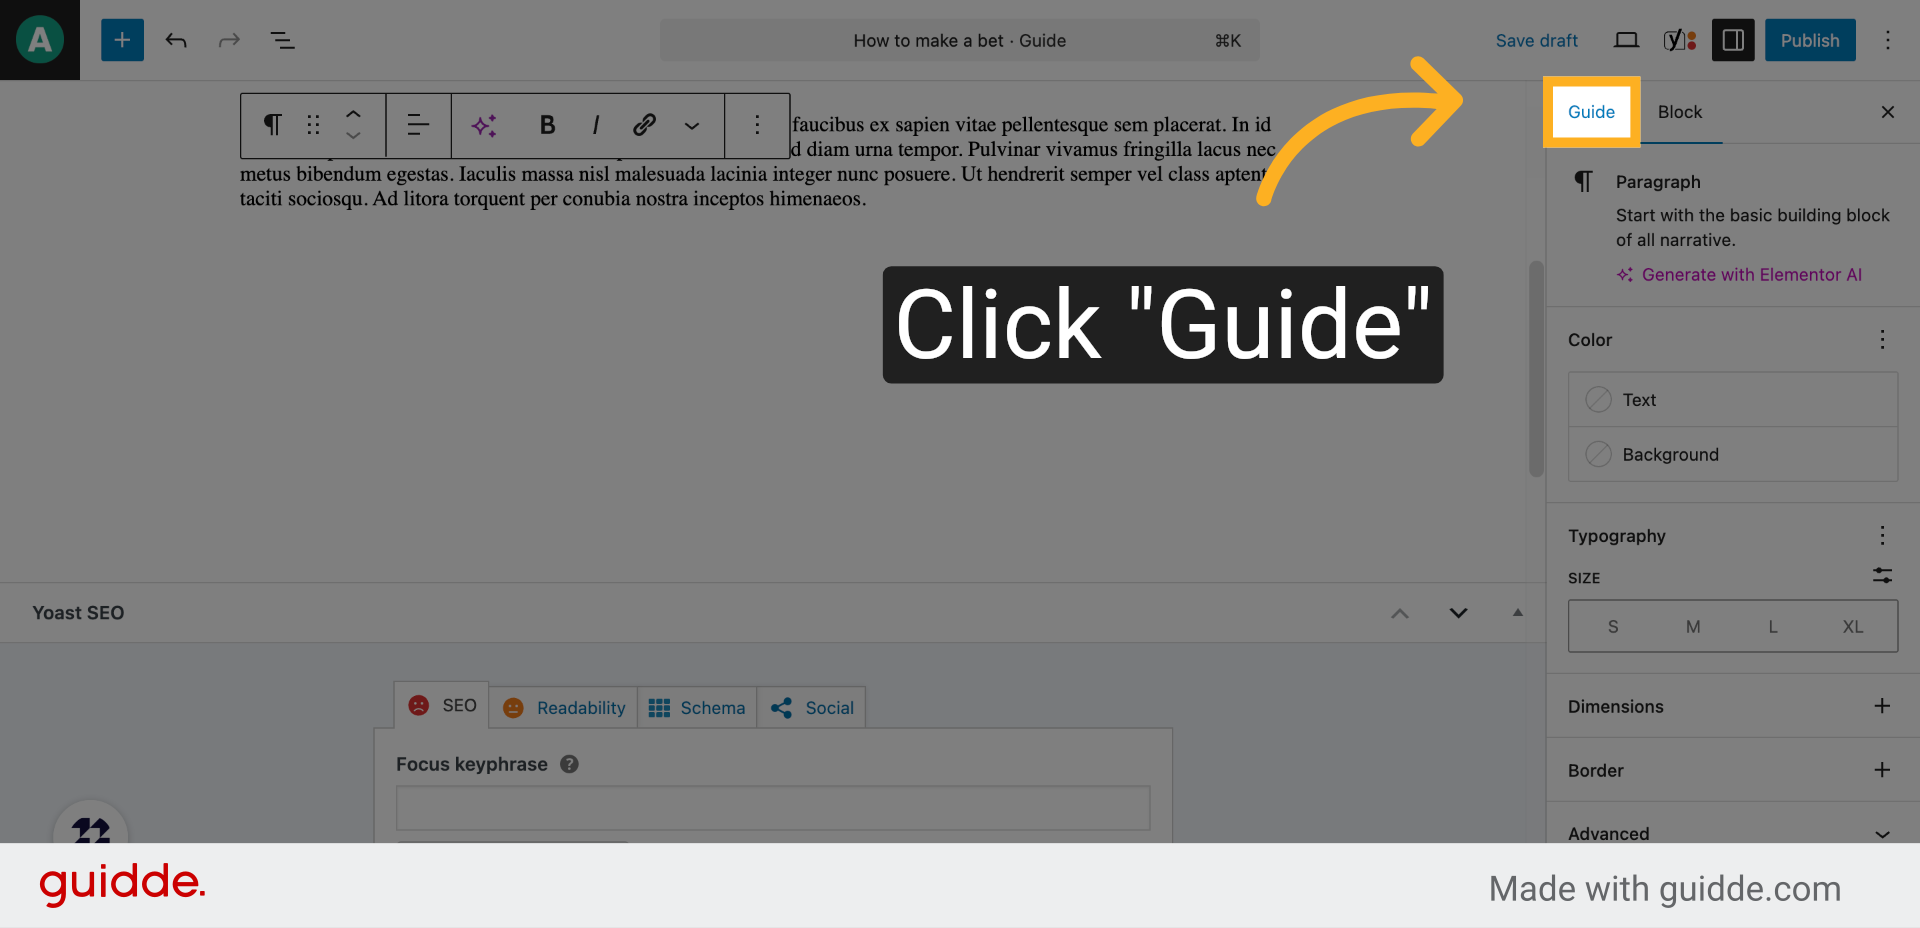
5. Click “Guide”
Select the ‘Guide’ block to structure your content effectively and provide step-by-step instructions.
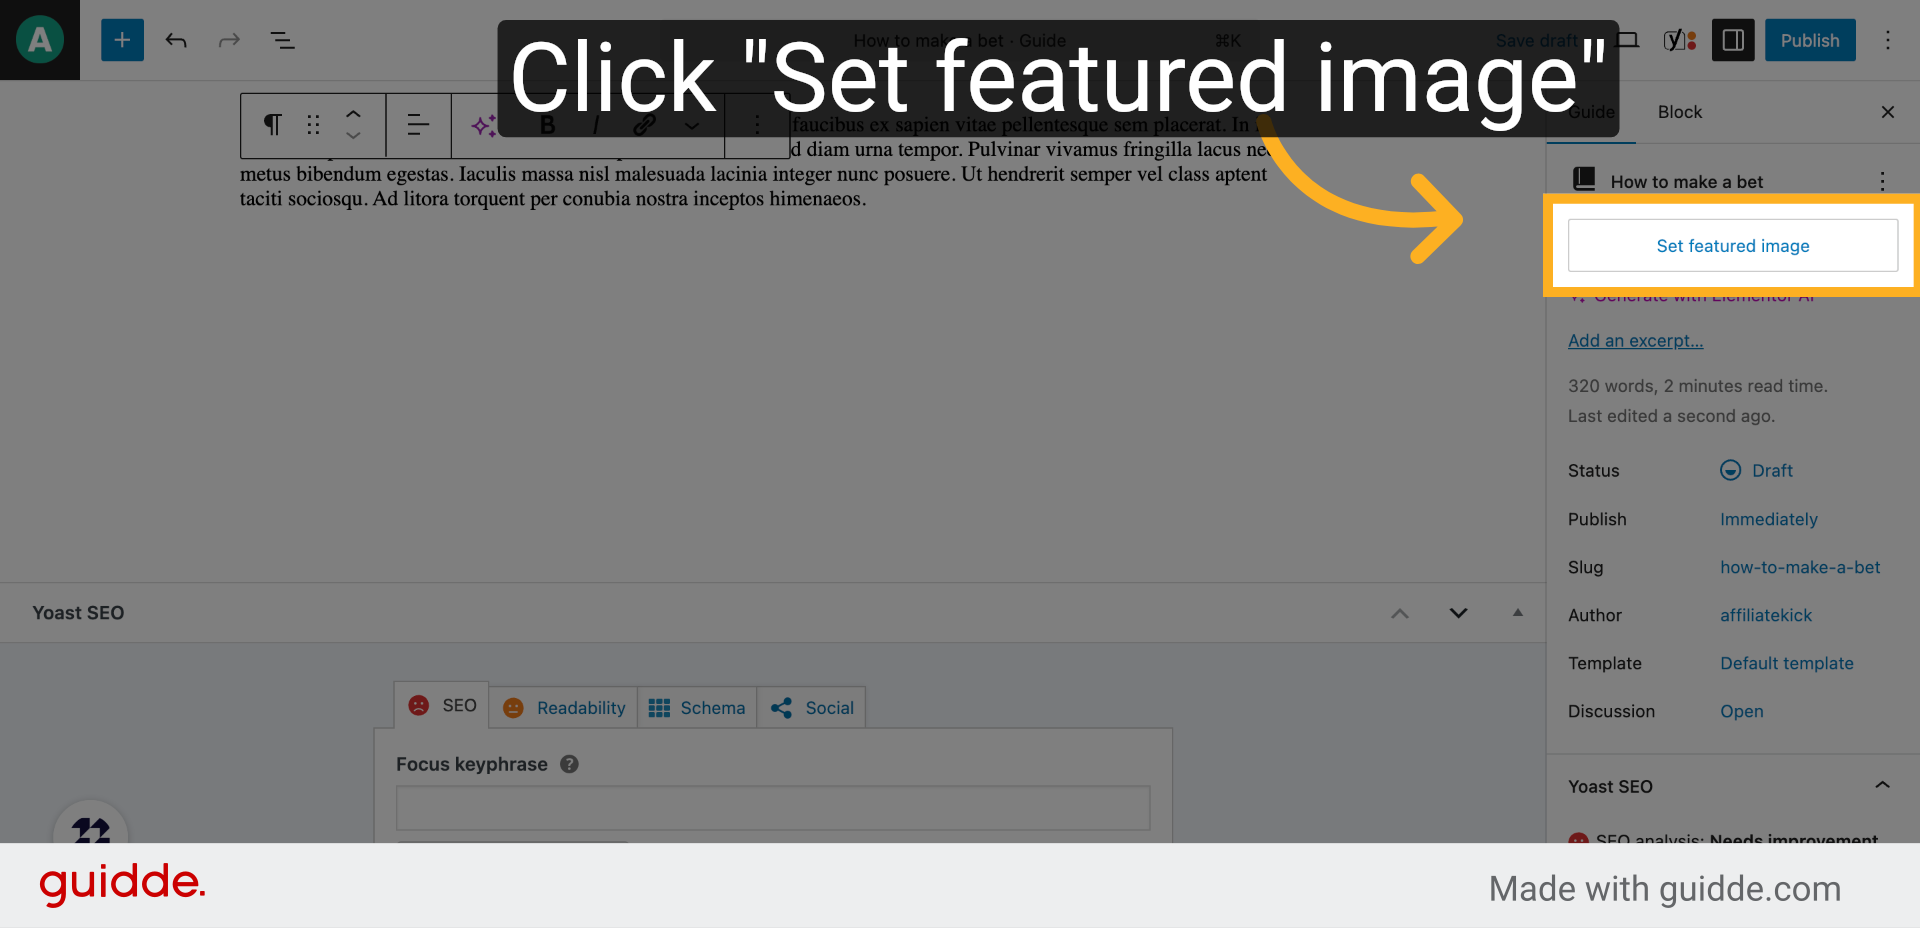
6. Click “Set featured image”
Locate and click the option to set a featured image that visually represents your guide.
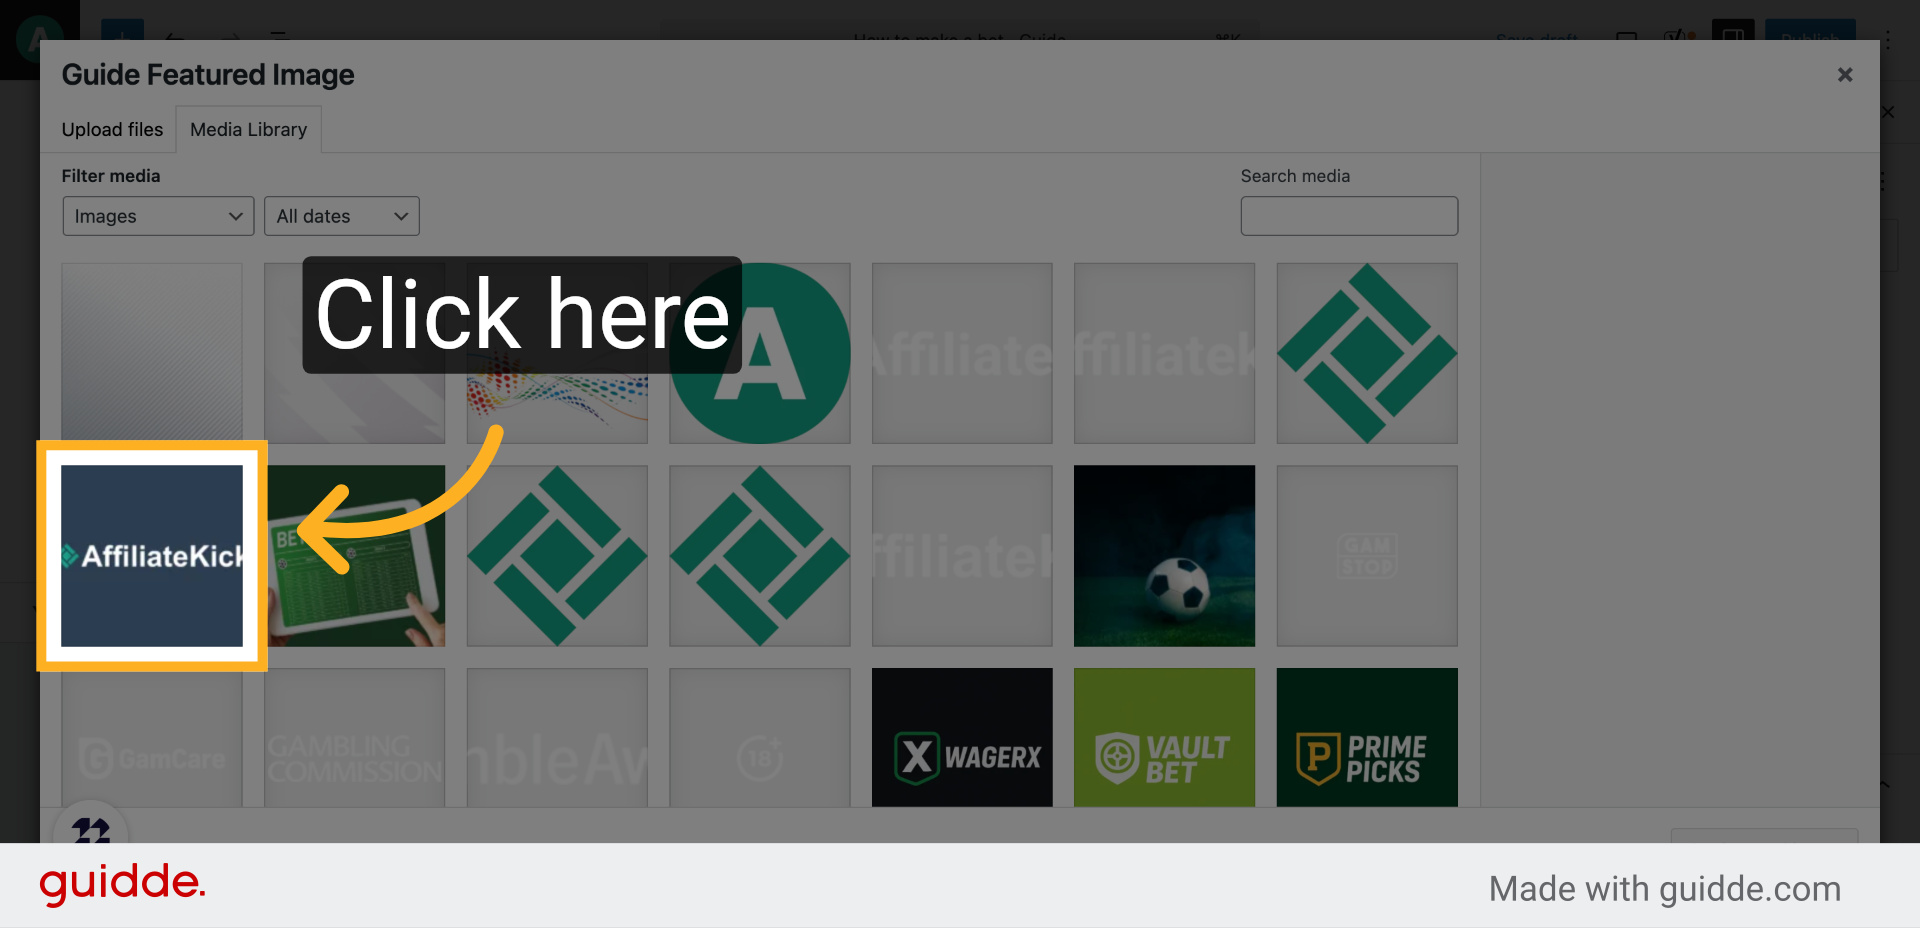
7. Click here
Browse your media library or upload a new image that aligns with your guide’s topic.
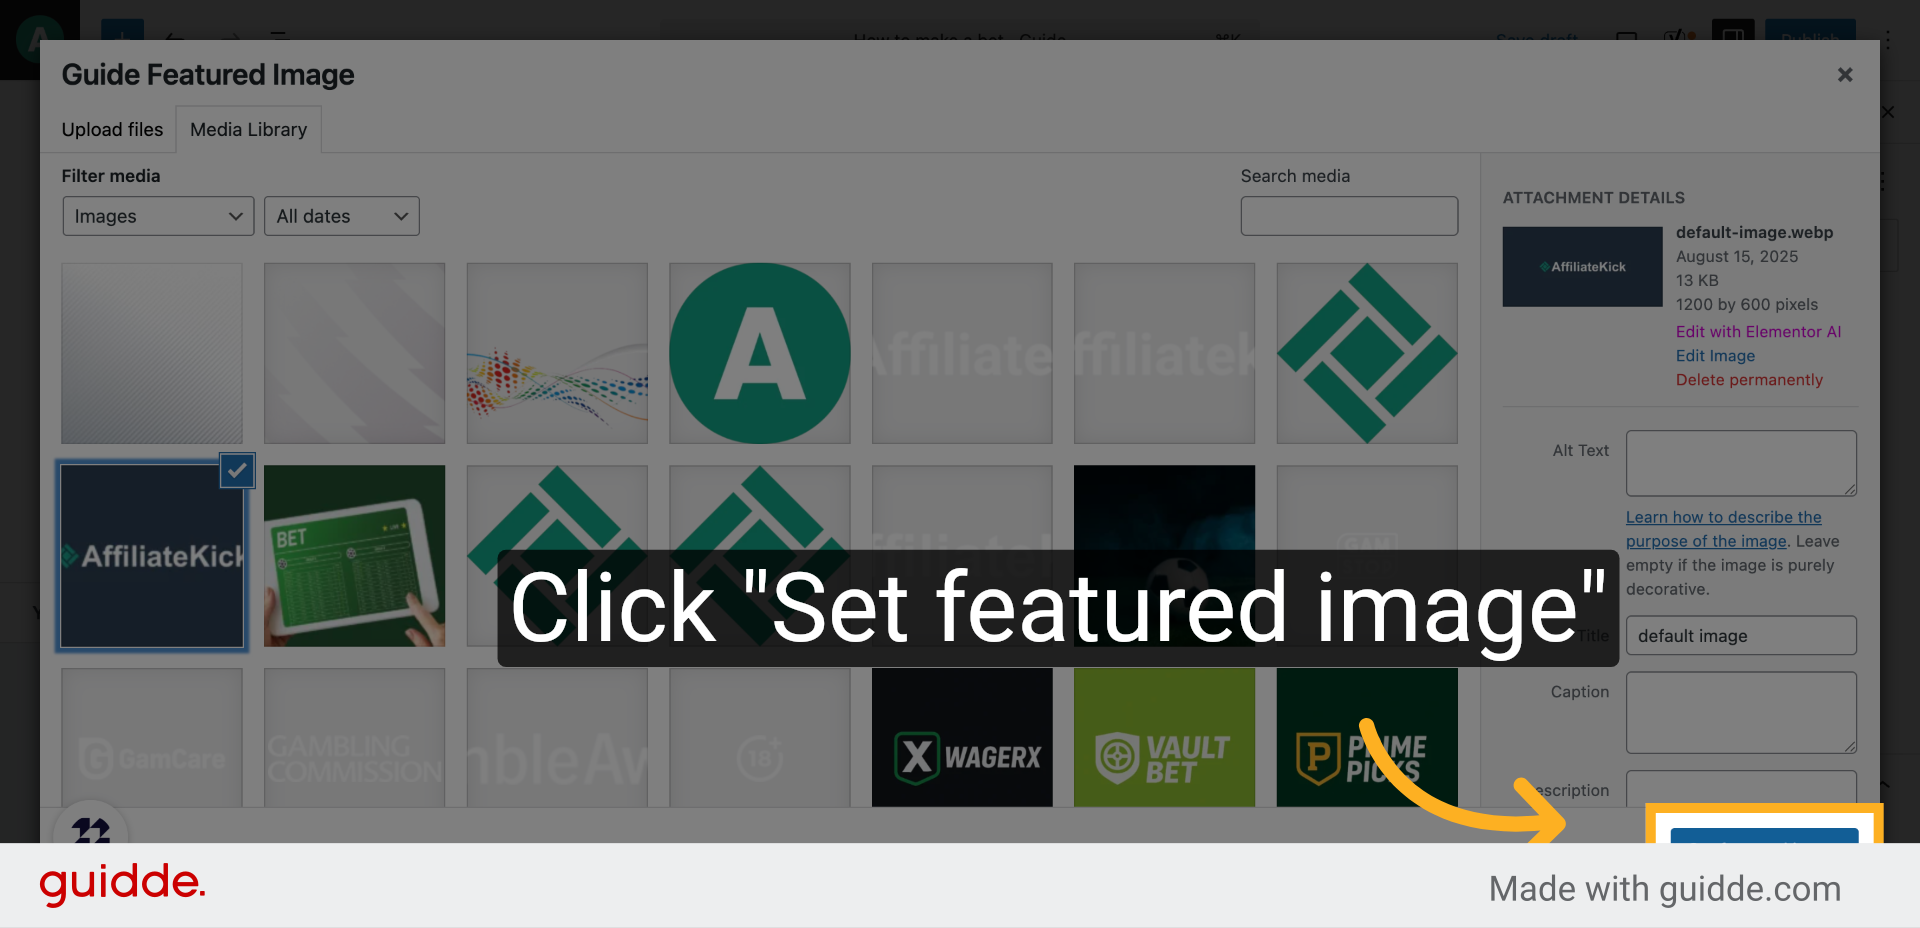
8. Click “Set featured image”
Confirm your choice by setting the selected image as the featured image for your guide.
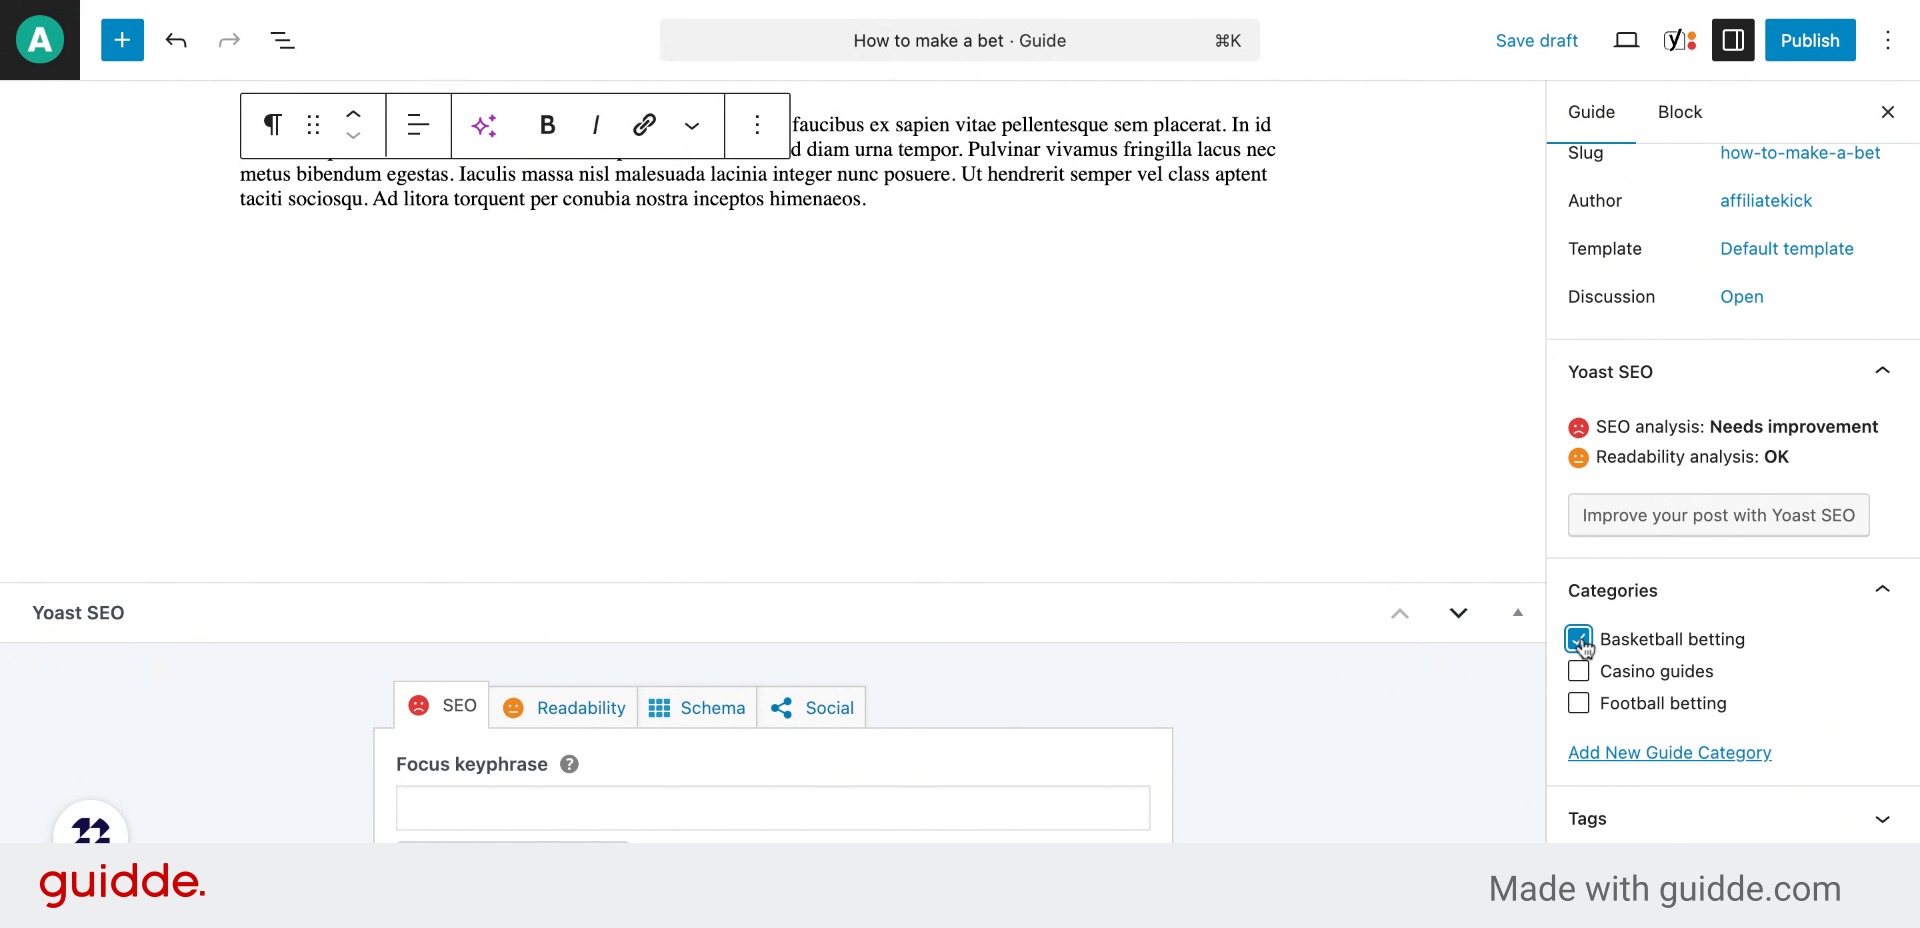
9. Select a category
Choose a relevant category, like ‘Basketball betting,’ to help users find your guide easily.

10. Select a category
Assign an order or priority number to your guide to control its display sequence among other content.
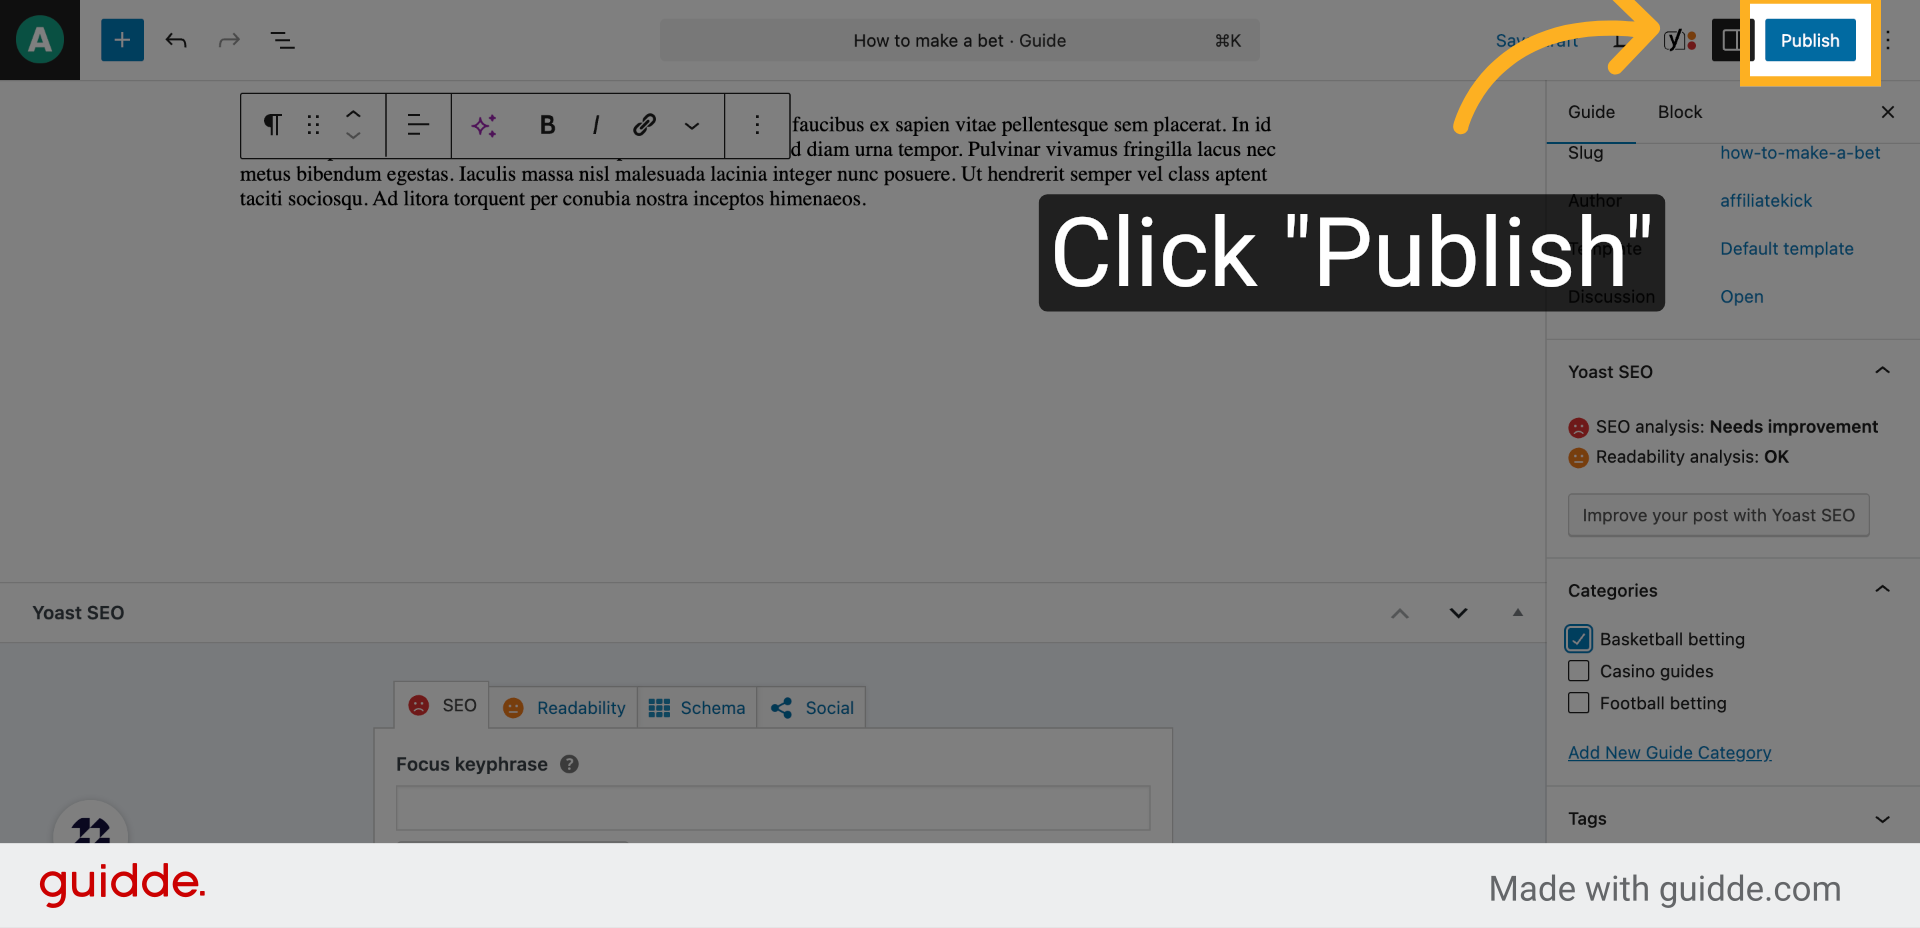
11. Click “Publish”
Publish your guide by clicking the publish button to make it live and accessible to your audience.
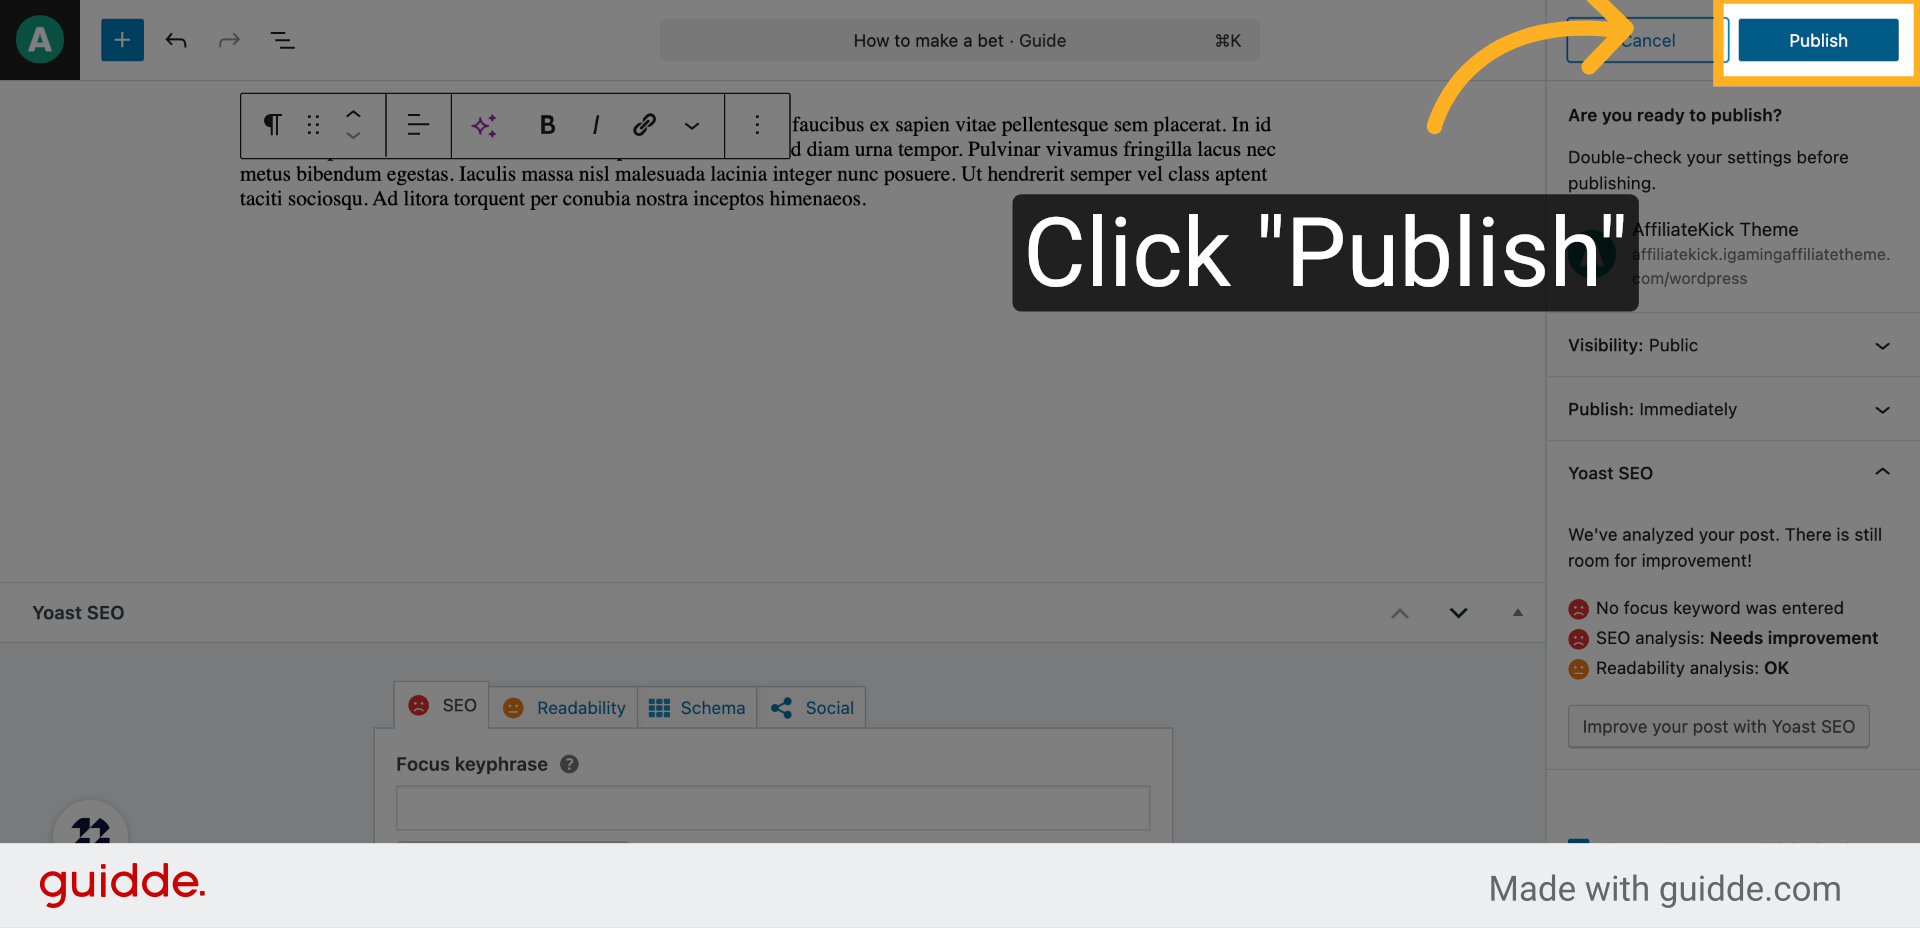
12. Click “Publish”
Confirm the publication by clicking publish again, ensuring your guide is officially available on the platform.
This guide walked you through creating and publishing a detailed how-to guide, including adding a title, selecting a guide block, setting a featured image, categorizing, ordering, and finally publishing your content for users to access.